
How to Draw a Pear in Pencil (Two Circles Method)
Draw a realistic pear: two overlapping circles smoothed into one shape, a short stem, shading lit from the top left and a cast shadow on the table.
By Ayoub Farid · · 2 min read
A pear is a small step up from an apple: two round forms joined into one. Graphite's daily sketch puts it simply: draw a small round top on a big round bottom, with a short stem.
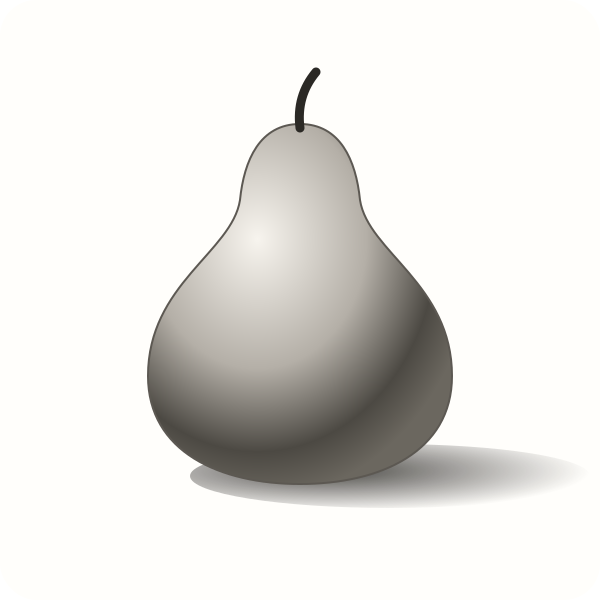
Step 1: Two circles
Draw a small circle on top and a larger one below, overlapping. The bottom circle is roughly twice the width of the top.
Step 2: Smooth the join
Connect them with gentle inward curves (the pear's "waist"). Pears are rarely symmetrical; let one side curve more.
Step 3: Stem
A short, slightly curved stem at the top, leaning to one side.
Step 4: Light and shadow
Light from the top left:
- Each rounded part shades like a sphere.
- The darkest tones sit on the lower right of the big round part.
- The waist gets a soft shadow where the form turns inward.
Step 5: Cast shadow
To the lower right, darkest where the pear touches the table.
Step 6: Texture (optional)
Pears have tiny speckles. A few light dots in the mid-tones are enough (textures).
Tips
- Think of two overlapping circles, then smooth the join.
- Shade with curved strokes following each bulge.
- Keep the outline light.
Value plan
| Area | Value |
|---|---|
| Highlight on the bottom bulb | 1 |
| Light side | 2 |
| Waist (turning inward) | 3 |
| Core shadow on the bottom bulb | 4 |
| Contact shadow | 5 |
A 15-minute practice plan
- 3 min: two circles, then smooth the join into one shape.
- 8 min: shade the bottom bulb like a sphere, then the top, then the waist.
- 2 min: stem, with a small shadow where it enters the fruit.
- 2 min: cast shadow and a few speckles.
Variations
- A pear lying on its side: the waist now curves down to the table; the cast shadow follows the long shape.
- A pear cut in half: a flat, light surface with the core and seeds, framed by the darker skin.
- Pear and apple together: compare a shiny apple highlight with the softer, broader pear highlight.
Troubleshooting
- The pear looks lopsided in a bad way: keep the axis (an imaginary line through the stem and base) slightly tilted, but consistent.
- The waist looks pinched: make the inward curves gentler.
Frequently asked questions
Why does my pear look like a snowman?
The join is too sharp. Smooth the waist into a continuous curve.
Where's the highlight on a pear?
On the upper left of each rounded part, broader and softer than on an apple.
What should I draw after a pear?
Try cherries or a still life with an apple and a pear.