
How to Draw a Realistic Apple in Pencil (4 Steps)
Draw a realistic apple step by step: the basic shape with its top dip, mapping light and shadow, shading that wraps the form, then cast shadow and details.
By Ayoub Farid · · 2 min read
An apple is the perfect first "real" object: it's a sphere with personality. These four steps follow Graphite's Realistic apple lesson (about 20 minutes), with light from the top left.
Step 1: The basic shape
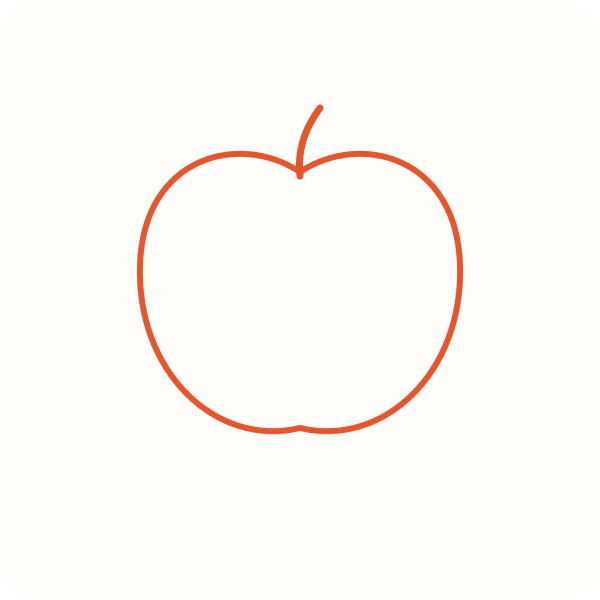
Draw a circle that's a little wider at the top, with a small dip at the top center and a short stem.
- Apples are rarely perfectly round. A slight lean looks natural.
- Keep lines light.
Step 2: Map light and shadow
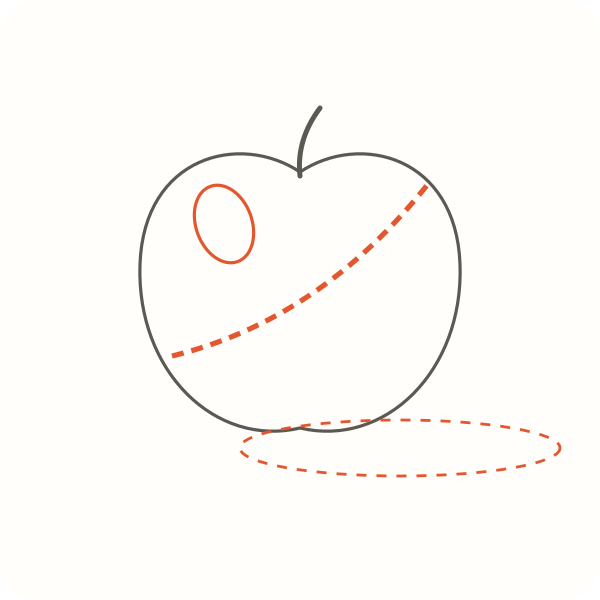
Lightly outline the shadow side, the shiny highlight, and the shadow on the table.
- The highlight is a small oval near the top left.
- The dip at the top also holds a little shadow.
Step 3: Shade the form
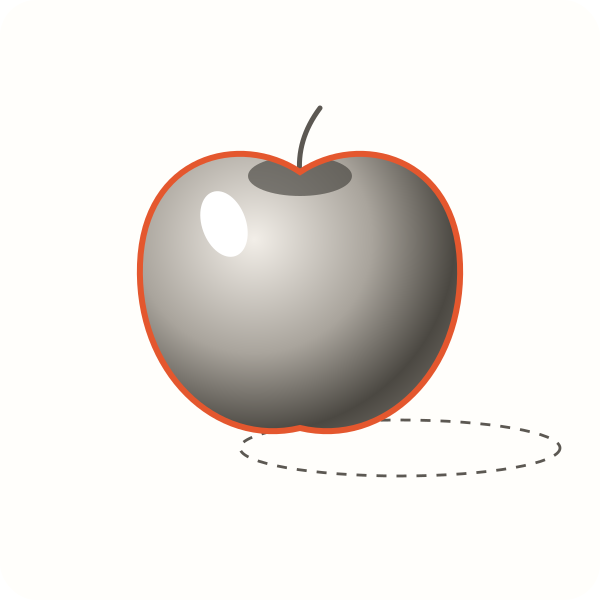
Shade around the form, darkest on the lower right. Keep the highlight clean and white.
- Follow the curve with your strokes, like wrapping the apple.
- Shade the top dip darker around the stem.
Step 4: Finish and details
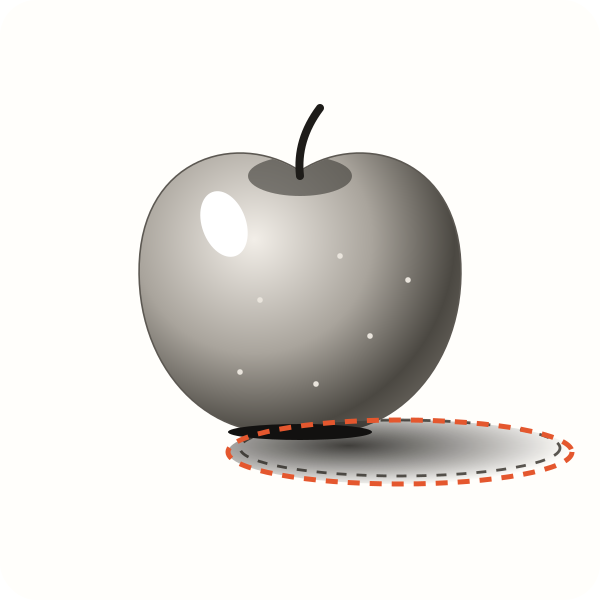
Darken the cast shadow, add the stem's shadow, and a few tiny speckles on the skin.
- The darkest darks sit right where the apple meets the table.
- Less is more with speckles.
Before and after
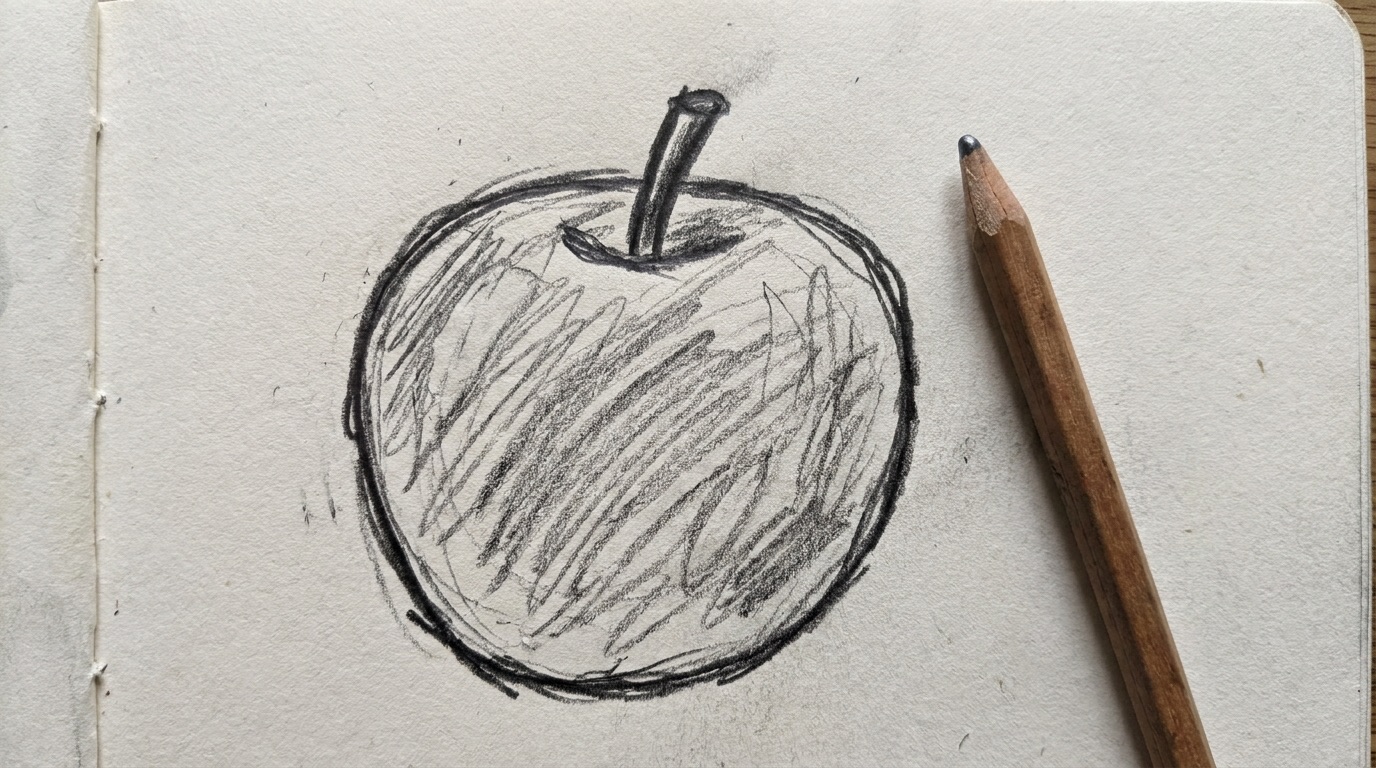
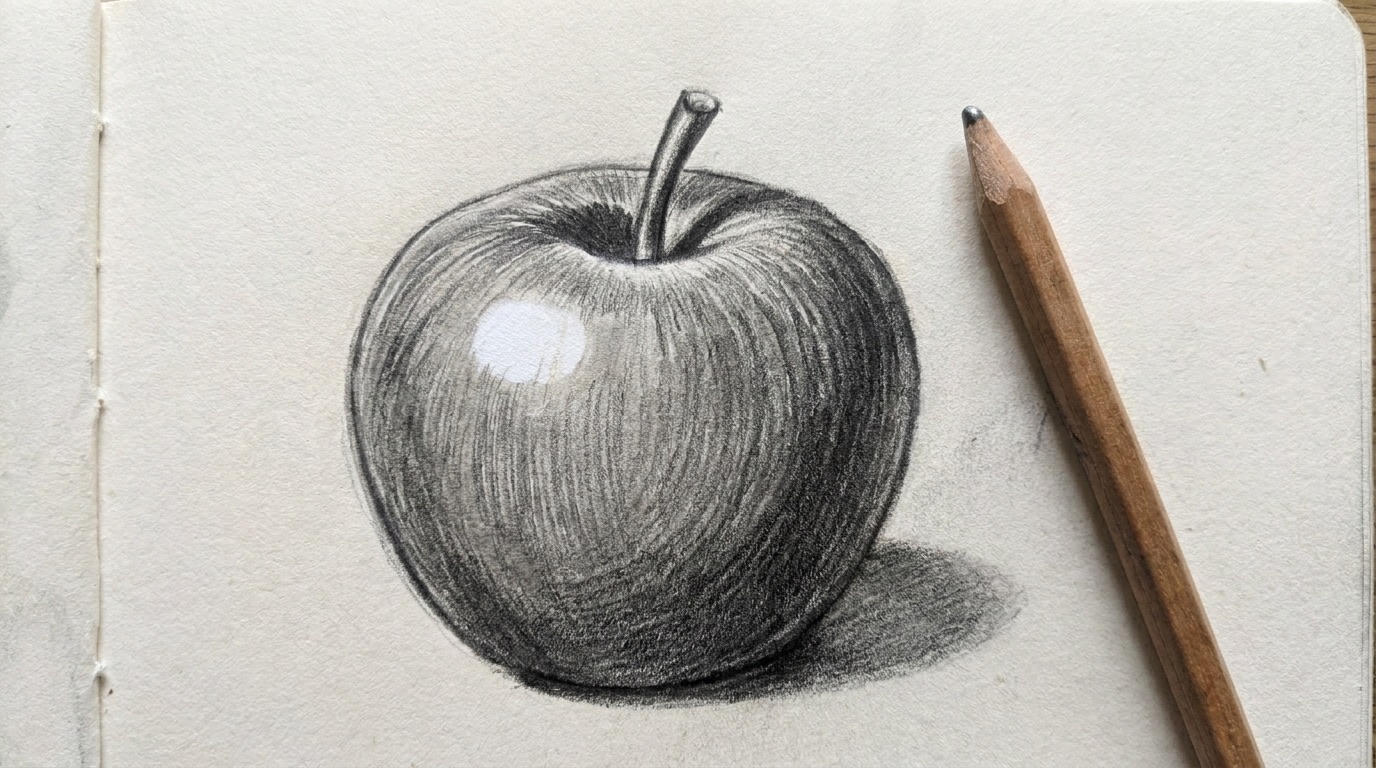
Common mistakes
| Mistake | Fix |
|---|---|
| Perfect circle | Wider top, dip, slight lean |
| Dark outline | Light outline; shading makes the edge |
| Highlight shaded over | Outline it in step 2 and protect it |
| Straight back-and-forth strokes | Curved strokes that wrap the form |
| Floating apple | Cast shadow, darkest at the contact |
Frequently asked questions
Should I draw an apple from a real apple?
Yes, if you can. Put it under a desk lamp from the top left. A real apple teaches you more than any photo.
How do I make the apple look shiny?
A small, crisp highlight with darker tones right around it. See how to draw highlights.
What should I draw before an apple?
A shaded sphere. The apple uses the same light pattern.
Next: how to draw a pear, still life drawing.