
How to Shade a Sphere With Pencil (Step by Step)
Shade a realistic sphere in four steps: a light circle, map the shadow, shade the form with a core shadow, then add the cast shadow and reflected light.
By Ayoub Farid · · 2 min read
The shaded sphere is the classic drawing exercise for a reason: everything round (eggs, fruit, eyes, faces) follows the same light rules. Master it and you've learned the core of realistic shading.
Here are the four steps Graphite's Shaded sphere lesson uses (about 15 minutes).
Step 1: A light circle
Draw a circle about the size of your palm with light, loose strokes. Move from your elbow, not your wrist. Go around a few times lightly, then pick the best line. (How to draw a circle)

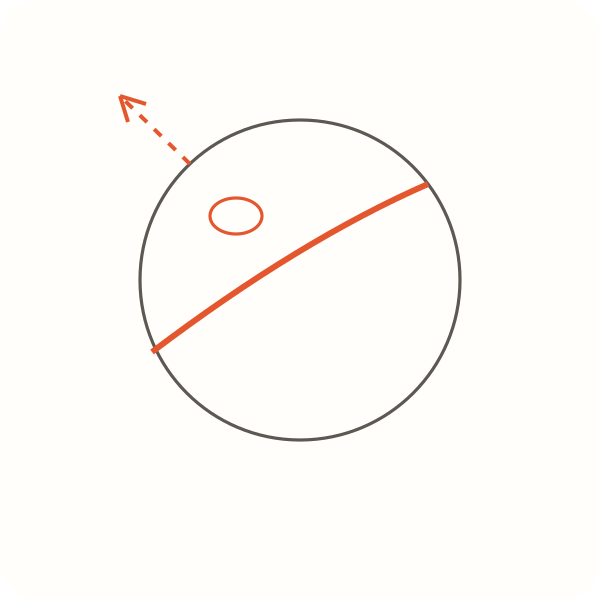
Step 2: Map the shadow
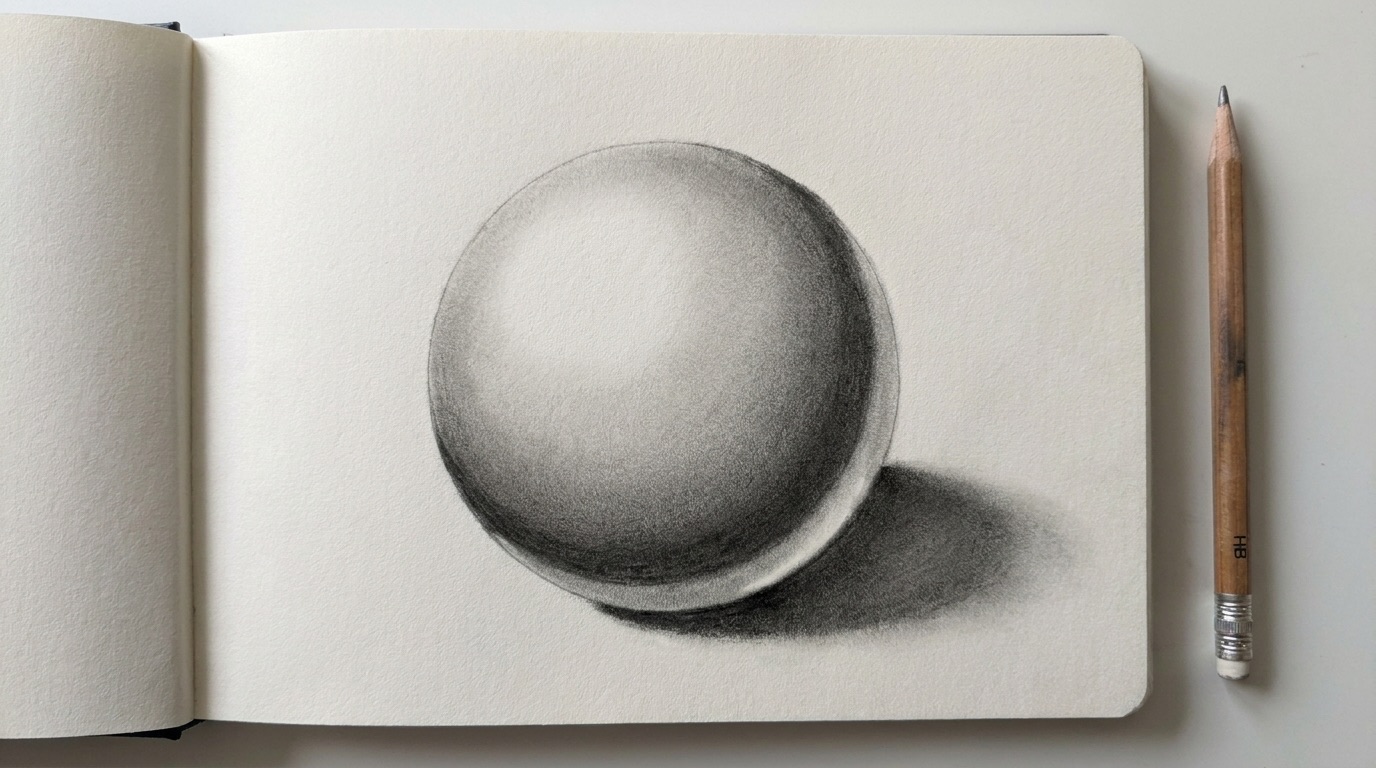
Decide the light comes from the top left. Lightly draw a curved line across the lower right where the shadow starts. The line curves like the ball itself. Mark a small spot near the top left for the brightest point (highlight).
Step 3: Shade the form
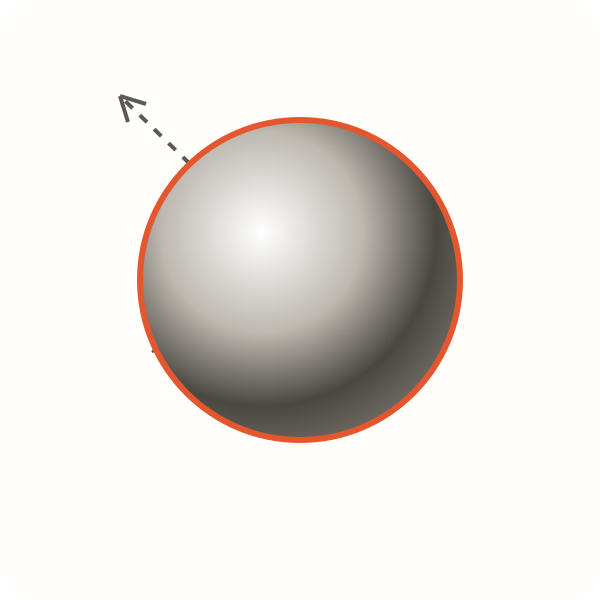
Shade the shadow side, getting darker just past your curved line. Blend it softly into the lit side.
- The darkest band (core shadow) sits just inside the shadow, not at the edge.
- Keep the brightest spot white paper.
- Follow the curve with your strokes.
Step 4: Cast shadow & ground
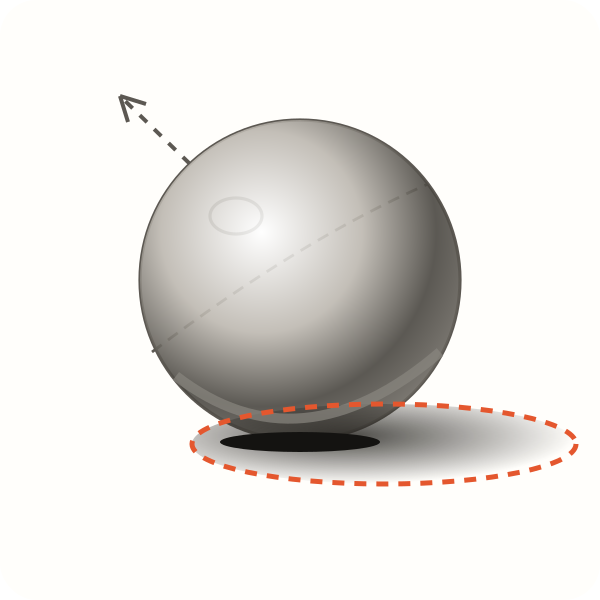
Add the shadow the ball casts on the table to the lower right. Make it darkest right under the ball, where it touches the table. Leave a slightly lighter rim on the ball's bottom edge: that's reflected light bouncing back from the table.
Before and after
Common mistakes
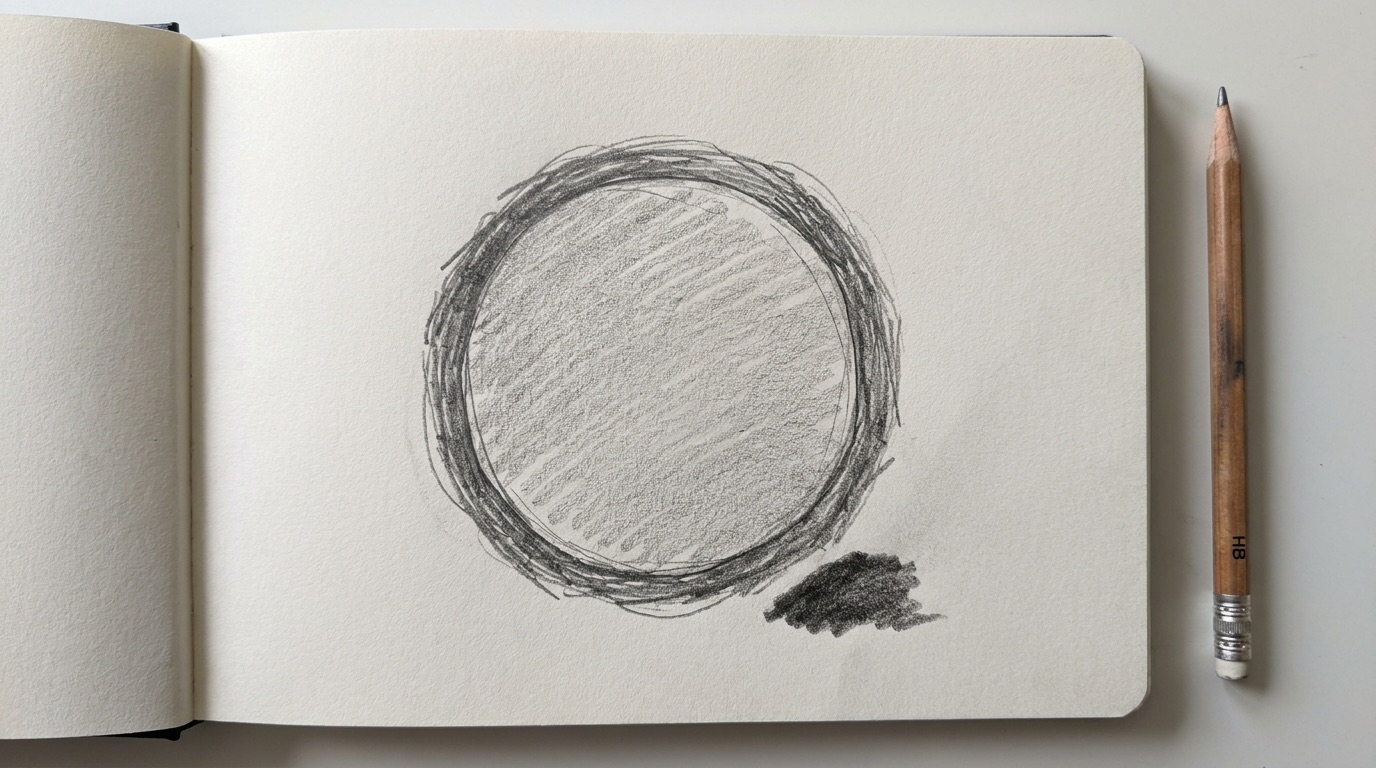
| Mistake | Fix |
|---|---|
| Darkest tone right on the outline | Move the core shadow inside, leave room for reflected light |
| No highlight | Plan it in step 2 and keep it white |
| Shadow on the wrong side | Draw a light-direction arrow before shading |
| Ball floats | Add a cast shadow, darkest at the contact point |
| Dark outline | Draw the circle lightly; let shading make the edge |
Frequently asked questions
Why is the core shadow not at the edge?
Because the table bounces some light back into the bottom of the ball, making the very edge slightly lighter. The darkest part is where the surface turns away from both the light and the table.
How dark should the cast shadow be?
Darkest right under the ball (often the darkest value in the drawing), then lighter and softer as it moves away.
What should I draw after a sphere?
An egg, an orange or an apple. They shade the same way with small changes.